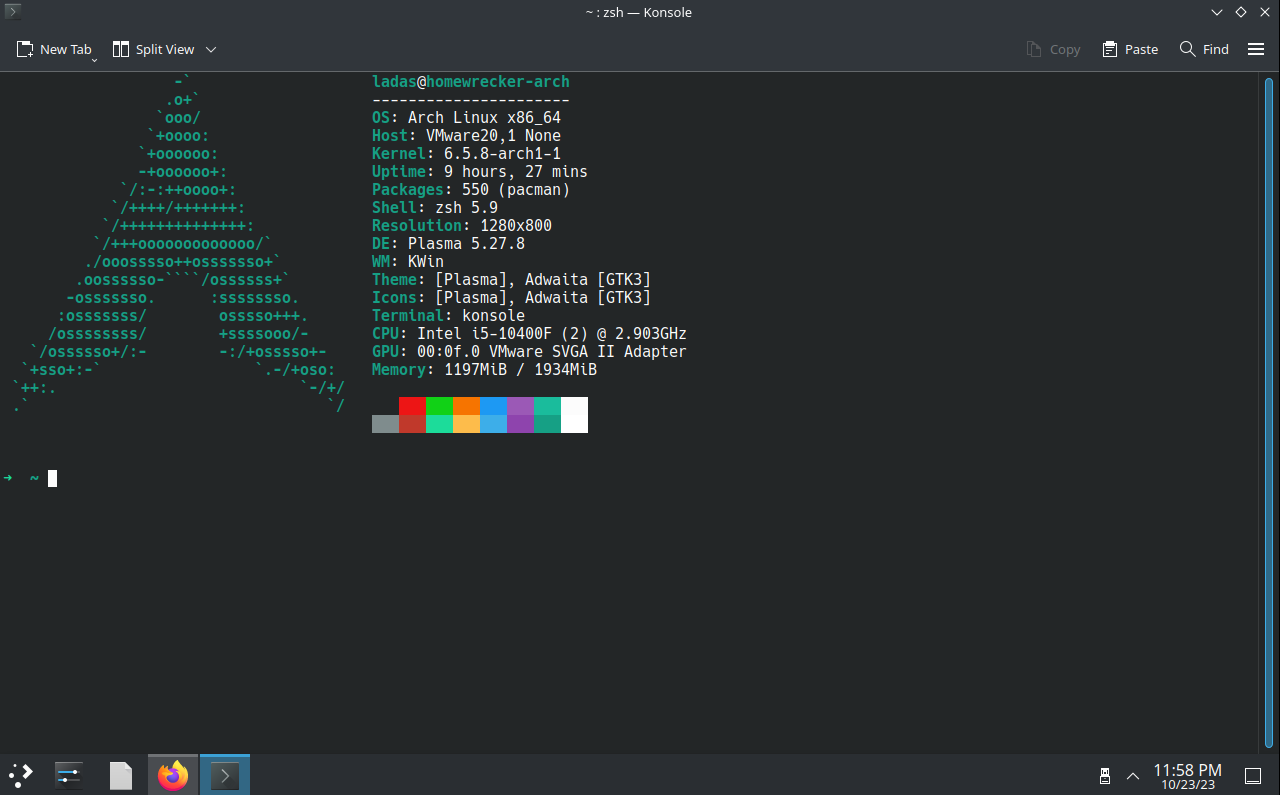
Personalized Arch Linux Install
The choices made in this guide are based on my personal preferences. The Arch Wiki is a great resource for comprehensive information on the installation process.
Pre-Install
- Download Arch Linux ISO
- Create VM with 2 cores, 2GB RAM, 20GB HDD
- Mount ISO to VM
- Change .vmx file to boot from EFI append the following line
- Boot VM
Check boot mode
1
2
| cat /sys/firmware/efi/fw_platform_size
# Expected response is 64, if 32 then vm not booted in UEFI mode.
|
Check Network
Update System Clock
Partition the disk
Identify connected Disks
1
2
| fdisk -l
# In this instance /dev/sda is the disk we will be installing to.
|
Partition Disk with fdisk
Fdisk commands to create 500MiB EFI partition, and create another partition with the remainder.
1
2
3
4
5
| g # Sets GPT partition table
n -> +500M # partition 500MiB
t -> 1 # Set 500MiB partition to EFI
n -> defaults # Default options partition the remained as linux FS
w # Write Changes
|
Format Root partition
Format EFI partition
1
| mkfs.fat -F 32 /dev/sda1
|
Mount the file systems
1
2
| mount /dev/sda2 /mnt
mount --mkdir /dev/sda1 /mnt/boot
|
Install to disk & Basic setup
Install essential packages
1
| pacstrap -K /mnt base linux linux-firmware networkmanager vim man-db man-pages texinfo
|
Generate fstab
1
2
| genfstab -L /mnt >> /mnt/etc/fstab
# I used -L to use labels instead of UUIDs
|
Chroot into the new filesystem
Link Timezone
1
| ln -sf /usr/share/zoneinfo/America/North_Dakota/Center /etc/localtime
|
Localization
Here we set language and locale. I am using en_US.UTF-8 UTF-8.
1
2
| vim /etc/locale.gen
# Uncomment en_US.UTF-8 UTF-8
|
Tip:In vim you can type /en_US , then press Enter, to search for the line
1
| echo 'LANG=en_US.UTF-8' > /etc/locale.conf
|
Set Hostname
1
| echo 'homewrecker-arch' > /etc/hostname
|
Change Root password
Install bootloader
1
| pacman -Sy grub efibootmgr
|
1
| grub-install --target=x86_64-efi --efi-directory=boot --bootloader-id=GRUB
|
1
| grub-mkconfig -o /boot/grub/grub.cfg
|
DANGER: Point of no return. Ensure all steps above are completed before exiting chroot.
Exit Chroot & Reboot…
Start NetworkManager service
1
| systemctl enable NetworkManager
|
1
| systemctl start NetworkManager
|
Post Install customization
The following sections are requirements for a systems administration class I am taking.
Add Desktop Environment
1
| pacman -Sy open-vm-tools xf86-input-vmmouse xf86-video-vmware
|
1
| pacman -Sy plasma-desktop
|
1
| pacman -Sy sddm sddm-kcm
|
It’s wise to install a terminal emulator prior to starting the display manager. Or you will be unable to access the terminal to install one at that point.
1
2
| systemctl enable sddm
systemctl start sddm
|
Add users
1
2
| useradd -m codi
useradd -m ladas
|
1
2
3
| passwd codi
passwd -e codi
passwd ladas
|
1
2
| visudo /etc/sudoers
# uncomment %sudo ALL=(ALL) ALL
|
1
2
3
| group add sudo
usermod -aG sudo ladas
usermod -aG sudo codi
|
Customize Terminal
1
2
3
| pacman -Sy zsh
zsh
# run through setup
|
1
| usermod --shell /bin/zsh ladas
|
1
2
3
| # Install oh-my-zsh
sh -c "$(curl -fsSL https://raw.githubusercontent.com/ohmyzsh/ohmyzsh/master/tools/install.sh)"
# Step through installer
|
Add ssh
1
| sudo pacman -Sy openssh
|
Misc Customization